
A fresh coat of paint can lift a tired room in a weekend. But the colour is only as good as the surface underneath, and most of the real work happens before you open the tin.
Knowing how to prepare a room for painting is what separates a finish that lasts for years from one that peels or cracks within months. That’s why professional painters spend so much time on preparation. This guide covers the full process, from clearing furniture to the final strip of tape.
Why Preparation Decides the Final Finish
Paint doesn’t hide flaws; it highlights them. Every nail hole, greasy fingerprint, and flaking patch shows through once light hits the wall at the right angle.
Good room prep before painting gives the new coat a clean, sound surface to bond to. Skip it, and you risk poor adhesion, patchy coverage, and needing to repaint early.
Clear and Protect the Room
Before you touch a wall, you need space to work and to protect anything you can’t move.
Moving Furniture and Fixtures
Remove as much furniture as you can, and push heavy pieces into the middle of the room so you can reach every wall. Take down curtains, artwork, and hooks. Turn off the power at the switchboard, then unscrew the switch and power point covers so you can paint cleanly behind them. If any wiring looks loose or damaged, call an electrician.
Floor and Surface Protection
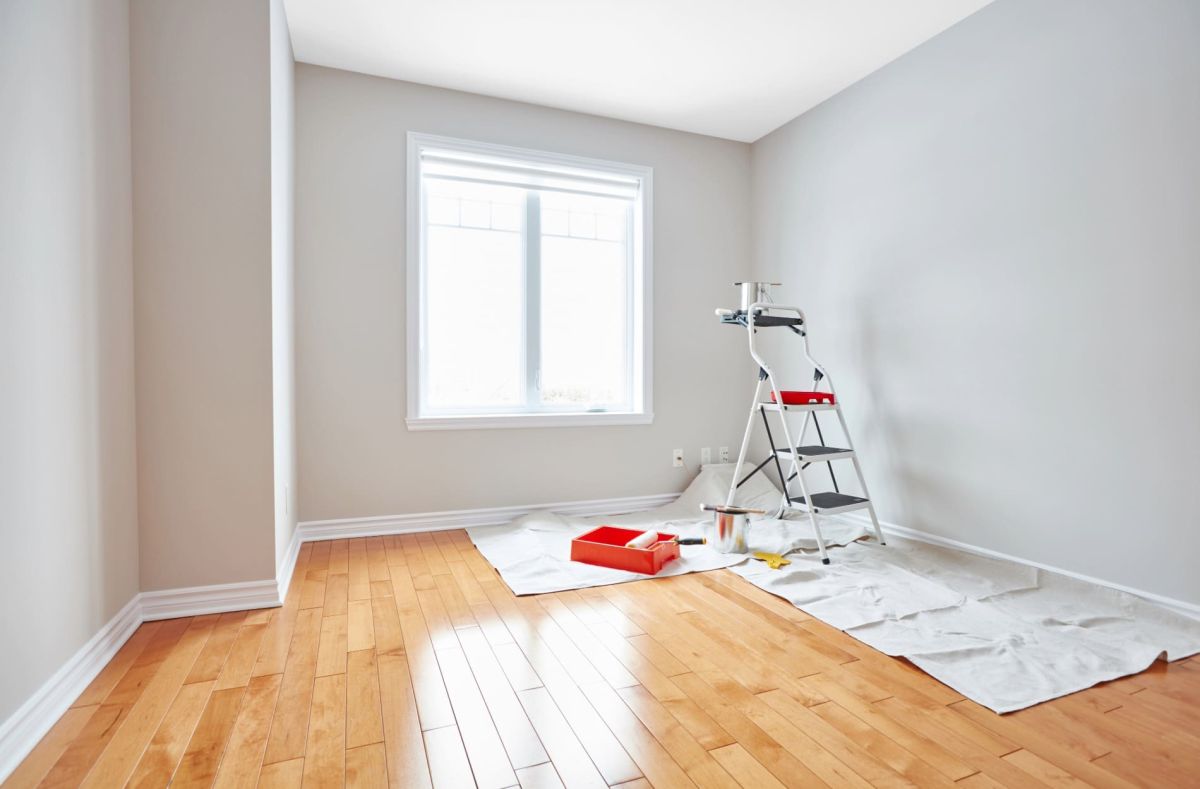
Lay drop sheets across the whole floor, not just along the walls. Canvas stays put and absorbs drips better than slippery plastic. Cover remaining furniture with plastic sheeting, since sanding dust travels further than you’d expect.
Clean and Repair the Walls
A wall can look clean but still have a film that stops paint from sticking. This stage removes both dirt and damage.
Washing Dirt, Grease and Mould
Wash walls with sugar soap and a sponge, then rinse with clean water. Kitchens, hallways, and areas around light switches usually need the most attention.
Mould needs its own treatment. Use a dedicated mould killer, let it work, and rinse thoroughly. If mould keeps coming back, sort out the moisture problem first, or it will return through the new paint.
Filling Holes and Cracks
Scrape away loose or flaking paint. Then press filler into holes and fine cracks with a filling blade, leaving it slightly proud of the surface, as many fillers shrink slightly as they dry.
Wipe it down with a damp sponge before the filler sets to smooth out small ridges and save sanding time later. Larger cracks or damaged plaster may need a plasterer’s touch rather than a tub of filler.
Sand, Prime and Mask
These final steps turn a repaired wall into one that’s ready for colour. Done well, sanding and filling walls, followed by priming and masking, gives a professional edge.
Sanding Methods and Grits
Sand-fill areas flush with the wall using medium-grit paper (around 120), then move to a finer 180-220 grit for a smooth finish. A sanding block keeps pressure even.
Lightly scuff glossy trims and doors so paint can grip, then wipe away all dust with a damp cloth. If your home was painted before 1980, assume older layers may contain lead. Test before you sand, and leave lead paint removal to professionals.
When Primer Is Needed
Not every wall needs primer or undercoat. Use it on bare plaster or new plasterboard, over filled patches, on stains, and when covering a dark colour with a lighter one. It seals the surface, evens out absorption, and often covers better than an extra top coat.
Masking for Painting
Good masking for painting keeps lines crisp. Run painter’s tape along skirtings, window frames, and ceiling edges, pressing it down firmly so paint can’t creep underneath. Peel it back at a 45-degree angle once the final coat is dry to the touch, before it fully hardens.
Prep Mistakes That Ruin a Paint Job
Even careful DIYers can make a few mistakes. The most common is painting over dirt or grease, which leads to peeling. Others include skipping primer on patches, leaving sanding dust behind, and painting before walls or filler have fully dried. A simple painting preparation checklist helps you avoid all of these: clear, protect, clean, repair, sand, prime, and mask, in that order.
When to Hire Professional Painters
Some jobs are bigger than a weekend project. Extensive cracking, recurring mould, possible lead paint, or high ceilings are all good reasons to call in professional painters in Auckland. Our team handles everything from mould treatment and hole repairs to the final coat, and our residential painting services in Auckland cover rooms of every size.
Frequently Asked Questions
Do you need to wash walls before painting?
Yes, in most cases. Even clean-looking walls carry dust and grease that weaken adhesion. A sugar soap wash and rinse is usually enough.
Should you sand walls before painting?
Sand any filled patches, rough spots, and glossy surfaces. Walls already in good, matt condition may only need a light scuff to help the new paint bond.
Do I need to remove light switches and covers?
It's the best approach. With the power off, removing covers lets you paint neatly behind them and avoids smeared fittings.
What is the difference between prep and priming?
Prep covers everything that gets the surface ready: cleaning, repairing, sanding, and masking. Priming is one step in that process: applying a sealing coat so the topcoat adheres and covers evenly.


Comments are closed.