You cannot deny the elegance and sophistication that plaster ceilings bring to any property! It is the best way to add a new, interesting look to your property, with just one problem. Plaster ceilings need a little maintenance. They develop cracks, and a few spots begin to sag, spoiling the look. This might be pretty terrifying. The good news is that you can repair most plaster issues yourself with the right tools and time.
This guide tells you how to deal with typical problems, when to seek help, and when to fix them yourself.
What Causes Plaster Ceilings to Break?
You need to find out what went wrong before you buy a scraper or mix plaster. If not, you’ll have to keep fixing the exact problem. Here are the key reasons for hiring professionals offering plaster repairs in Auckland:
Water Leaks
Water leakage is the most common and significant reason for ceiling plaster breaks. Make sure your roof is waterproof and that no pipes are leaking. If this happens, repair it first.
Age
Just like everything else, time weakens plaster. Over time, the plaster will start losing its grip. Therefore, even if there is no issue with the plaster, consider repairing it every few years.
Moving Structures
Houses move naturally over time as the weather changes. This kind of action usually breaks the ceiling.
Wrong Installation
If the plaster wasn’t installed properly, it will get damaged over time. Initially, make sure you hire professionals to install the plaster. No matter what, the most crucial thing is always getting to the root of the problem. This might mean repairing a leak or providing extra support before fixing the ceiling.
What You’ll Need?
Fixing spoiled plaster isn’t a struggle; you only need the right equipment to help. Here are a few things you would definitely need:
- A sturdy ladder or scaffolding to help you reach the ceiling
- Scrapers and putty knives to remove loose plaster and add more
- A mesh or plaster repair kit to make holes wider and stronger
- You may use joint compound or plaster mix to fill cracks and gaps.
- Use sandpaper to get rid of rough spots.
Once you are done with the initial tasks, finally prime and paint. Wear your safety gear to avoid potential exposure to chemicals and plaster dust.
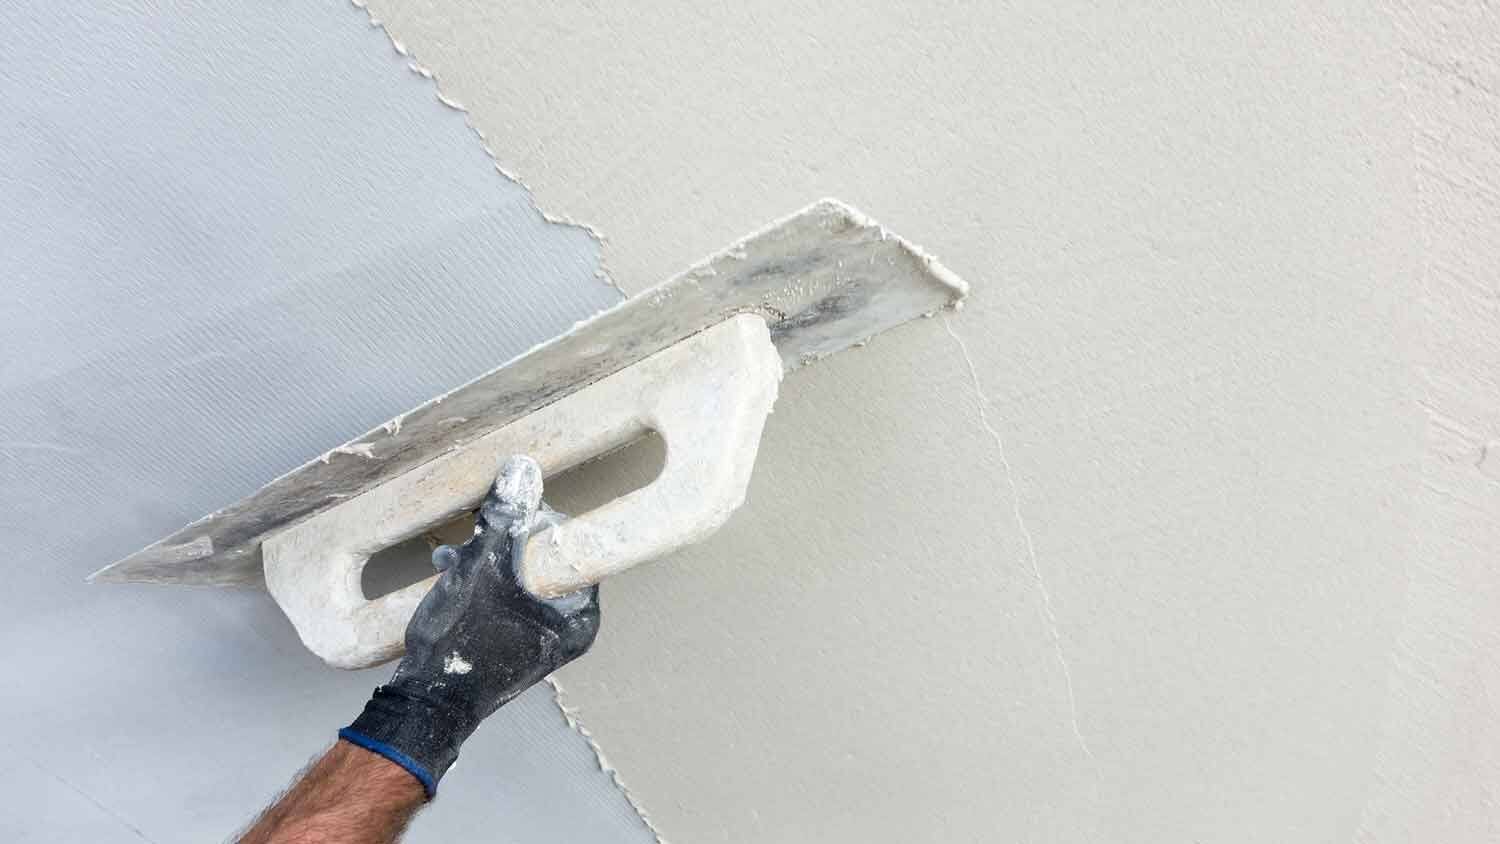
Fixing Small Cracks
Most of the time, it’s simple to mend little cracks, and they are more of a nuisance than a danger:
- You need to get rid of dust and plaster that isn’t stuck to clean the area.
- Add a bit more space to the break. This provides the compound something to grab onto.
- Put joint compound on the crack and push down forcefully.
- After you smooth it out with a putty knife, let it cure completely.
- Put on primer and paint after you sand the surface to make it look nice.
In only one afternoon, your ceiling will look like new.
Fixing Bigger Problems
Holes in the Roof
- Get rid of any plaster that is loose around the hole.
- Fill the hole with some netting or plasterboard.
- Use screws or glue to keep it in place.
- You should wait for the first coat to dry before putting on the second one.
Plaster That Is Drooping
- Make tiny holes in the area that is sagging.
- Use plaster washers to pull the ceiling back against the frame.
- Put some compound on the screws, smooth it out, and then paint it.
Even though they take longer, these repairs will endure much longer than just patching things up.
How to Make Your Paint Job Look Good?
Once you’ve fixed things, don’t just take any old paint. To start, seal the area that was patched with primer. Then, paint the ceiling the same colour as the walls and floor. If you use a roller with an extension pole, you won’t have to do circus tricks on the ladder.
When Should You Get Help from Experts?
You can mend little cracks and holes on your own, but for bigger problems, you need to call a specialist.
- There is a lot of damage.
- You suspect that old plaster could have asbestos in it.
- You don’t feel secure working over your head for long.
If you have a plaster ceiling in Auckland and something has gone wrong, a professional can tell you what has happened, repair it, and fix it so it is unlikely to happen again for some time.
How to Stop Damage from Happening Again?
A little care may go a long way. To maintain your plaster ceiling in excellent shape, do the following:
- Check for leaks regularly, since even little ones may cause significant issues.
- A dehumidifier may assist in keeping the humidity under control if a room is excessively damp.
- Check for issues promptly after storms or renovations so they don’t worsen.
Why Should You Take the Time to Plaster Ceilings?
Plastering the ceiling can be a lengthy task, but it is vital for the home to look and act right in maintaining a fresh plaster ceiling. Broken plaster looks terrible, smells terrible, and can cause real issues in the future. That’s why you should repair your plaster ceiling every few years.
Last Thoughts
Maintaining your ceiling is the key to ensuring it is flawless and fresh as new! Most of the cracks and problems you can handle yourself, and in case something big comes up, it is better to hire a professional. If you’re in Auckland, you can employ professional plaster repair ceiling specialists who will save you time and stress and bring superior skills to the project for a smoother, longer-lasting finish.

Comments are closed.